Composting is one of the oldest, most proven, and most cost-effective practices in agriculture, and for South African smallholders, community gardeners, and commercial vegetable producers, it ranks among the most powerful tools available for building soil health and reducing dependence on expensive synthetic fertilizers. Yet despite being free to make and widely beneficial, composting remains underutilized across South African farming operations large and small.
In a country where synthetic fertilizer prices have surged dramatically in recent years, where many smallholder operations run on minimal input budgets, and where decades of conventional tillage and poor soil management have degraded significant areas of agricultural land, compost offers a practical path to improved soil fertility, better water retention, healthier crops, and higher yields, all from materials that most farms and households already have on hand.
Here we cover the main production decisions about composting in South African conditions: what composting is, why it matters for your soil, what materials to use, how to build and manage a compost heap using both hot and cold methods, troubleshooting common problems, vermicomposting as a smallholder alternative, and how to apply finished compost effectively for maximum crop benefit.
What Is Composting and Why Does It Matter?
Composting is the managed decomposition of organic materials (plant residues, food scraps, animal manures, and other biological waste) by microorganisms, fungi, and invertebrates into a stable, nutrient-rich soil amendment called compost or humus. The process mimics and accelerates what happens naturally on the forest floor when leaves and organic matter break down over time, but under managed conditions it can produce finished compost in as little as 4–12 weeks rather than years.
For South African farmers, the benefits of compost extend far beyond simple nutrient supply. Finished compost improves soil in several interconnected ways that synthetic fertilizers alone cannot replicate:
- Improves soil structure: Compost binds sandy soils into aggregates that hold water and nutrients better, and breaks up heavy clay soils to improve drainage and root penetration.
- Feeds soil life: The billions of bacteria, fungi, nematodes, and earthworms that make up healthy soil biology depend on organic matter as their food source. Compost feeds and sustains this living ecosystem, which in turn makes nutrients available to plant roots and suppresses soil-borne diseases.
- Improves water retention: Each percent increase in soil organic matter increases the soil's water-holding capacity by approximately 20 litres per cubic metre. In drought-prone South Africa, this is a critical benefit that reduces irrigation requirements and drought stress on crops.
- Supplies slow-release nutrients: Compost releases nitrogen, phosphorus, potassium, calcium, magnesium, sulphur, and a full range of micronutrients slowly as microorganisms continue breaking it down in the soil, a sustained fertility effect that cannot be replicated by a single synthetic fertilizer application.
- Reduces disease pressure: Healthy, biologically active soils enriched with compost have been shown to suppress a range of soil-borne plant pathogens including Fusarium, Phytophthora, and Pythium, the same organisms responsible for damping-off and root rots that devastate seedbeds and vegetable crops.
- Reduces input costs: Every rand of compost you make on-farm from available organic materials reduces your synthetic fertilizer bill. For smallholders operating on tight margins, this can be the difference between profitability and loss.
The Carbon-to-Nitrogen Ratio: The Key to Composting
Understanding the carbon-to-nitrogen (C:N) ratio is the most important conceptual step in learning to compost effectively. Composting microorganisms need both carbon (for energy) and nitrogen (for building their cell bodies) to thrive. The ideal C:N ratio for active composting is approximately 25:1 to 30:1.
Materials that are high in carbon are typically dry and brown: straw, dry leaves, cardboard, wood chips, corn stalks, and dry grass. Materials high in nitrogen are typically wet and green: fresh grass clippings, vegetable peels, fresh manure, coffee grounds, green plant trimmings, and food scraps. Mixing these two groups in the right proportions (roughly equal volumes of brown and green material, or slightly more brown) creates the conditions for rapid, hot composting with minimal odour.
🟢 Green Materials (Nitrogen-Rich)
- Fresh grass clippings
- Vegetable and fruit scraps
- Fresh chicken or livestock manure
- Coffee grounds and tea bags
- Fresh plant prunings and weeds (before seeding)
- Legume residues (bean plants, pea vines)
- Fresh comfrey leaves
- Seaweed (in coastal areas)
🟤 Brown Materials (Carbon-Rich)
- Dry straw or hay
- Dry leaves and leaf litter
- Cardboard and uncoated paper (torn up)
- Wood chips and sawdust (untreated)
- Dry maize stalks (chopped)
- Sugar bagasse
- Dry grass clippings
- Peanut shells and rice husks
What NOT to Add to Your Compost
While most organic materials can be composted, some should be excluded from standard compost heaps, particularly those managed by smallholders and community gardens without access to industrial high-temperature composting systems:
- Meat, fish, and dairy products: Attract rodents and vermin, create persistent unpleasant odours, and can harbour pathogens. Exclude from open compost heaps.
- Diseased plant material: Plants infected with serious fungal diseases (club root, fusarium wilt, late blight) can survive in a heap that does not reach adequate temperatures and reinfect your soil when compost is applied. Burn diseased material instead.
- Weeds that have gone to seed: Seeds survive composting unless the heap reaches sustained temperatures above 55°C. Exclude seeding weeds from cold compost heaps.
- Treated wood products: Sawdust or chips from chemically treated wood (CCA-treated pine, painted wood) can leach toxic compounds into compost.
- Dog, cat, and human waste: Can harbour dangerous human pathogens. Do not add to garden or food-crop compost heaps.
- Heavily oil-coated or chemically contaminated materials: Can persist in compost and harm soil biology.
Building Your Compost Heap: Step by Step
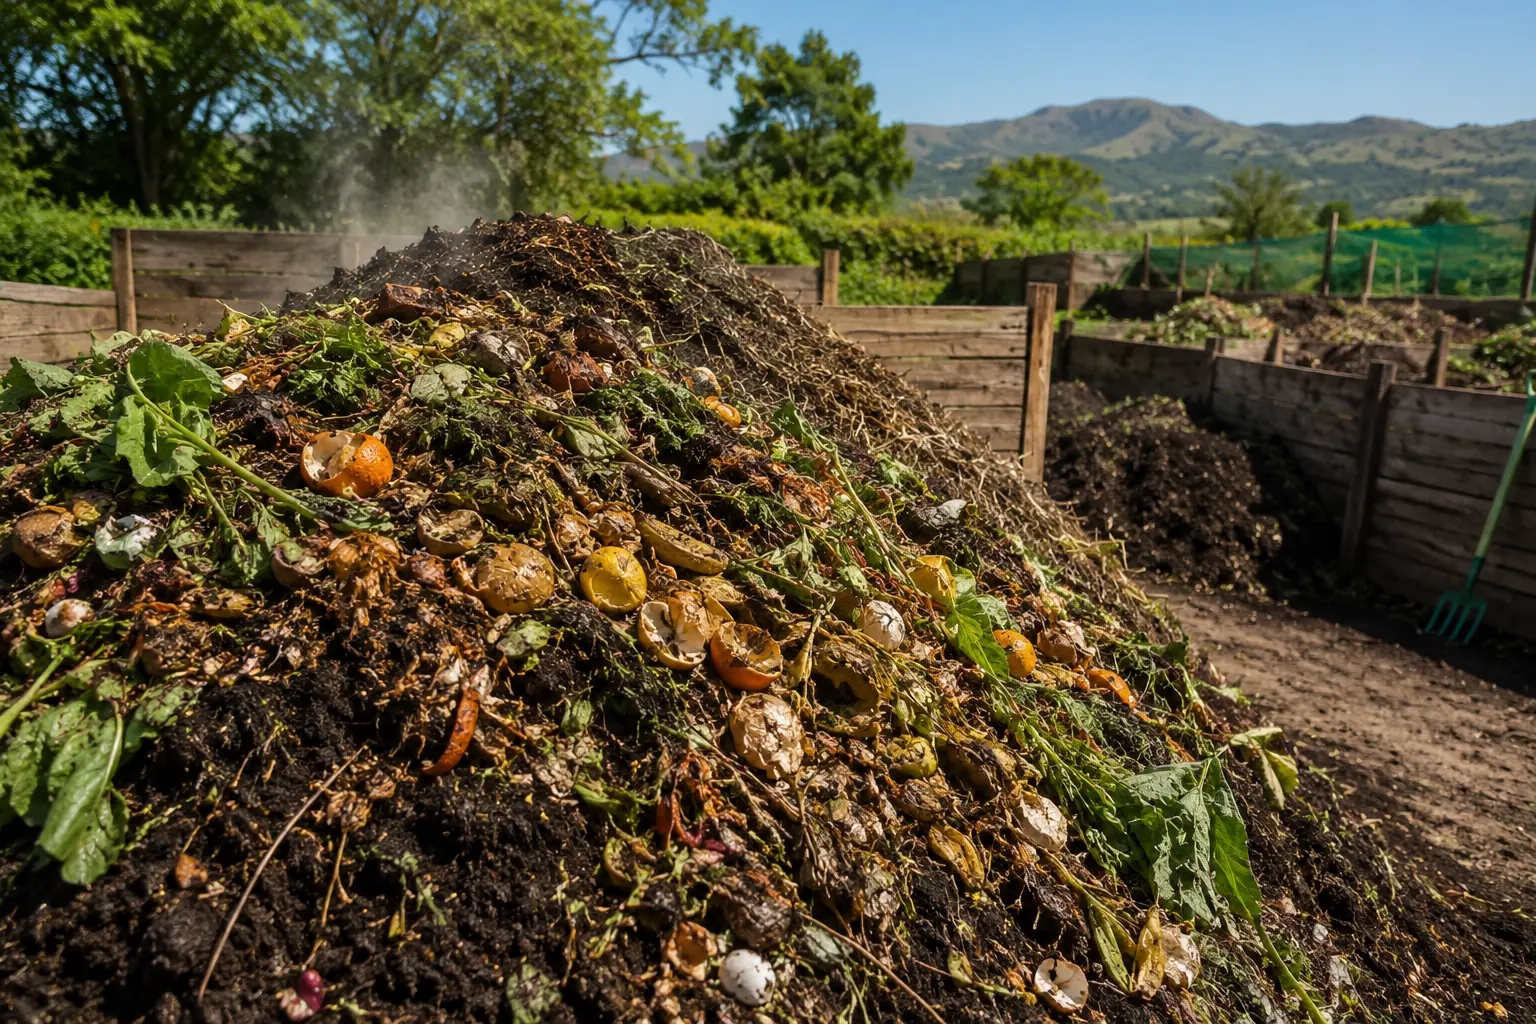
A compost heap can be as simple as a pile in the corner of your garden or as structured as a three-bay wooden or brick system. For most South African smallholders and community gardeners, a two-bay system made from wire mesh, wooden pallets, or concrete blocks is the most practical and cost-effective approach.
Two-Bay Compost System
A two-bay system allows you to build a new heap in Bay 1 while the heap in Bay 2 finishes maturing. Each bay should be approximately 1 m × 1 m × 1 m in size, the minimum volume needed to generate and retain enough heat for active composting. Larger heaps (up to 2 m × 2 m × 1.5 m) compost faster and reach higher temperatures, but become difficult to turn manually.
Layering Your Heap
- Base layer: Start with a 10–15 cm layer of coarse, dry material (wood chips, straw, or coarse prunings) to create airflow at the bottom of the heap.
- Alternate brown and green layers: Add 10–15 cm of brown (carbon-rich) material, then 5–10 cm of green (nitrogen-rich) material. Continue alternating layers until the heap is 1–1.5 m high. Each green layer can include a thin scattering of soil or finished compost to introduce microorganisms.
- Moisture: Each layer should be as moist as a wrung-out sponge, damp but not waterlogged. If adding dry materials, water each layer lightly as you build. In South Africa's dry seasons, cover the heap with hessian or shade cloth to retain moisture.
- Optional accelerants: A scattering of fresh livestock manure (chicken manure is the most nitrogen-rich), comfrey leaves, or diluted urine between layers significantly accelerates decomposition, all freely available on most farms.
Hot Composting vs Cold Composting
Hot Composting (Active Method)
Hot composting is the fastest method and produces finished compost in 4–8 weeks. It requires building the heap to at least 1 cubic metre in size in a single session (rather than adding materials gradually), maintaining the correct C:N ratio, keeping moisture at the right level, and turning the heap every 5–7 days to reintroduce oxygen and move outer cooler material into the hot core.
A well-managed hot compost heap reaches internal temperatures of 55–70°C within 2–5 days of building. At these temperatures, most weed seeds, plant pathogens, and fly larvae are killed, making hot compost significantly safer to apply to food crops than unfinished or cold-composted material. A compost thermometer (available from garden supply shops) helps track internal temperature and confirms when turning is needed.
Cold Composting (Passive Method)
Cold composting involves adding materials gradually to the heap as they become available and allowing decomposition to proceed slowly without regular turning. This method requires minimal labour but takes significantly longer, typically 3–12 months to produce finished compost. It also does not reach the temperatures needed to kill weed seeds and pathogens, so exclusion of problem materials is more important.
For most smallholders and community gardens in South Africa, a semi-active cold composting approach, building the heap with reasonable attention to C:N balance, turning it monthly rather than weekly, and keeping it moist, produces finished compost in 3–5 months with modest labour investment.
Maintaining Your Compost Heap
The four key variables to monitor and manage in your compost heap are moisture, aeration, C:N balance, and heap size. Getting all four right simultaneously is what separates a heap that breaks down in 6 weeks from one that sits unchanged for 6 months.
- Moisture: The heap should feel like a wrung-out sponge, moist but not dripping. In hot, dry South African conditions, water the heap during dry spells and cover it to reduce evaporation. In wet periods, cover it to prevent waterlogging and anaerobic conditions.
- Aeration: Oxygen is essential for the aerobic decomposition process. Turn the heap with a fork or spade to introduce air and mix materials. If turning is impractical, push vertical ventilation pipes (sections of perforated PVC pipe or bundles of dry maize stalks) into the heap during construction to maintain some airflow.
- Adding materials: When adding new green materials to an established heap, bury them in the centre rather than leaving them on top, this prevents odour and fly attraction and speeds decomposition of fresh additions.
Troubleshooting Common Compost Problems
| Problem | Likely Cause | Solution |
|---|---|---|
| Heap smells like ammonia | Too much nitrogen (green material) | Add more brown/carbon material and turn the heap |
| Heap smells like rotten eggs | Waterlogged and anaerobic | Turn to introduce air; add dry brown material; improve drainage |
| Heap not heating up | Too dry, too small, or C:N imbalance | Add water; add nitrogen-rich green material; build up the heap volume |
| Heap stays cold after turning | Process is complete, compost is ready | Harvest and use; or allow to cure for 2–4 more weeks |
| Flies and pests in heap | Exposed food scraps on surface | Bury food waste in the centre; exclude meat and dairy |
| Heap drying out too fast | Exposed to wind and sun in dry season | Cover with hessian, shade cloth, or old cardboard |
| Materials not breaking down | Pieces too large; too dry; C:N wrong | Chop or shred material before adding; water; add green material |
Vermicomposting: Worms as Your Composting Workforce
Vermicomposting, composting with worms, is an excellent alternative or complement to heap composting for smallholders, urban gardeners, and community gardens with limited space or available organic material. Redworms (Eisenia fetida, also called red wigglers or composting worms) are not the same as ordinary garden earthworms. They are surface dwellers that thrive in organic matter and eat their own body weight in organic waste every day.
A basic worm bin can be built from two stacked plastic containers or purchased as a commercial worm farm kit. The worms process food scraps, paper, and soft organic materials into worm castings (vermicompost), firmly among the most nutrient-dense and biologically active soil amendments available, routinely shown to outperform equivalent rates of finished compost in trial studies.
Worm castings can be used as a direct soil amendment around plants, mixed into potting media, or diluted in water to make worm tea, a biologically active liquid fertilizer applied as a drench or foliar spray that improves plant growth and suppresses foliar diseases. In South Africa, vermicompost businesses have emerged in several cities, supplying bags of worm castings to urban gardeners and smallholder vegetable farmers at premium prices, creating a potential micro-enterprise opportunity for farmers with suitable space and a reliable organic waste stream.
How to Use Finished Compost
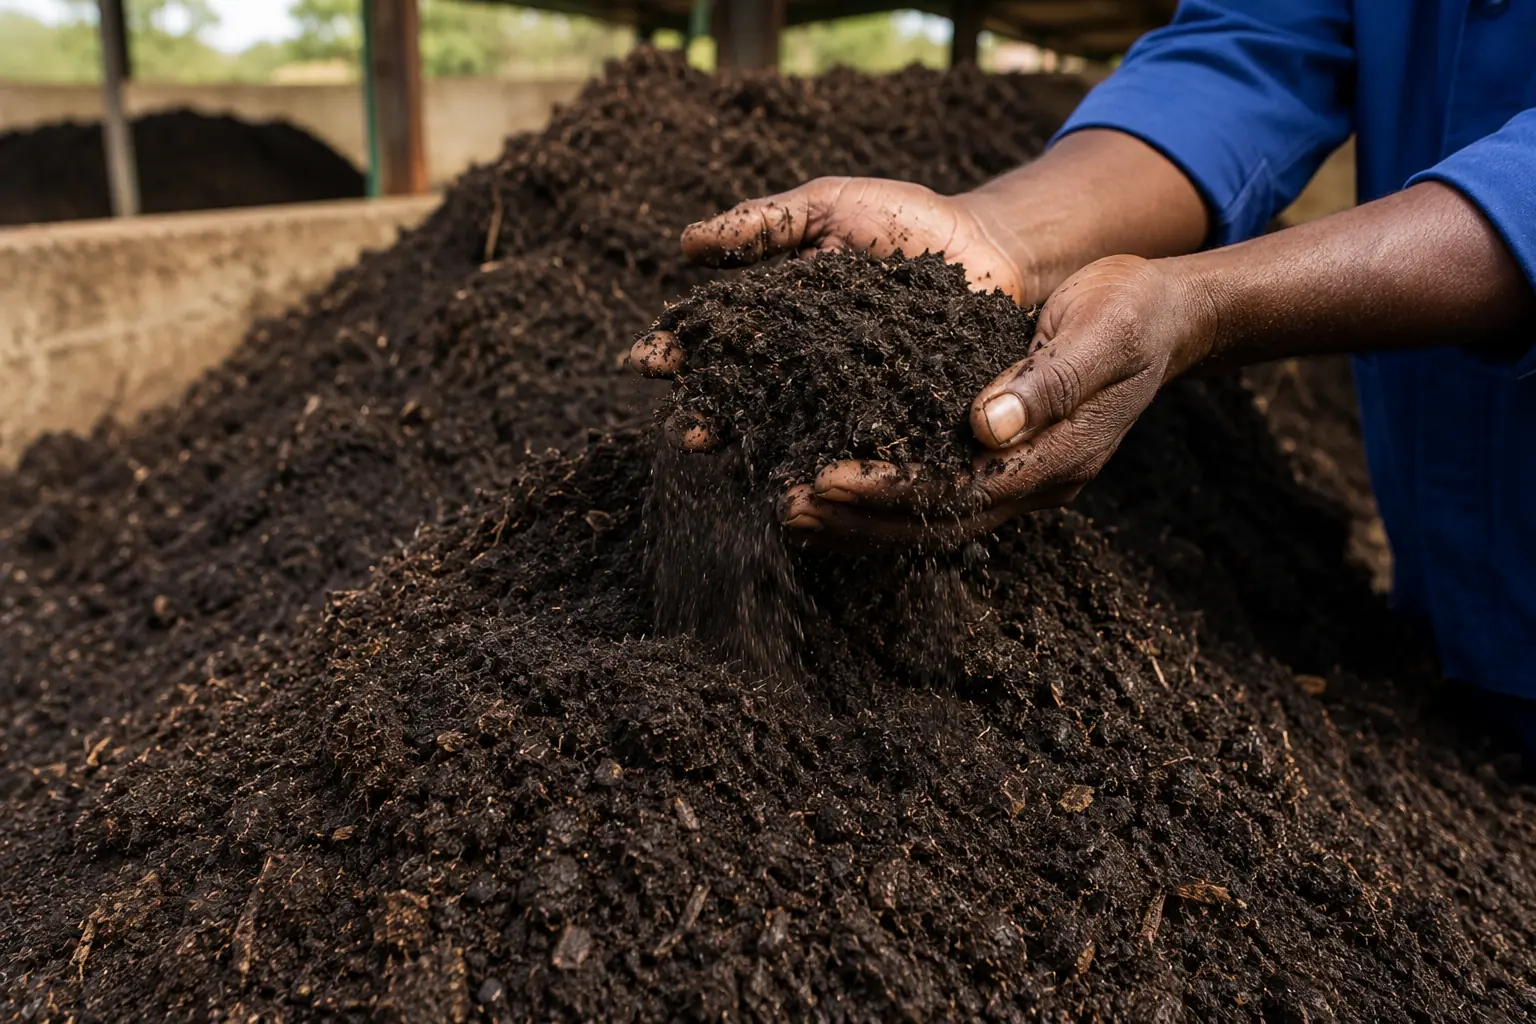
Finished compost is dark brown to black in colour, has a pleasant earthy smell, and is crumbly in texture with no visible original materials remaining (other than possibly some woody pieces that can be screened out and returned to the next heap). It can be used in several ways:
- Soil incorporation: Dig 5–10 cm of compost into planting beds before each crop. This is the most effective application method for new or poor soils requiring significant organic matter improvement.
- Surface mulch: Apply 5 cm of compost as a surface mulch around established plants. This feeds the soil, retains moisture, suppresses weeds, and moderates soil temperature, particularly valuable in South Africa's hot summer months.
- Potting mix: Mix 20–30% compost with topsoil and river sand for seed trays and container growing. Never use fresh or unfinished compost in potting mixes, it will tie up nitrogen and can burn seedlings.
- Compost tea: Steep finished compost in water for 24–48 hours (aerated for best results) to create a liquid extract that can be diluted and applied as a soil drench or foliar spray, delivering soluble nutrients and beneficial microorganisms directly to plants.
Application rates for vegetable production typically range from 5 to 10 tonnes of compost per hectare per season, significantly less is needed in subsequent seasons as soil organic matter builds over time. On a garden bed scale, 2–3 cm of compost dug into the top 15 cm of soil before each planting is an excellent starting point.
♻️ Composting Quick reference for SA Farmers
- Chop or shred all materials before adding to the heap, smaller pieces decompose far faster than whole branches or uncut stems.
- Chicken manure is the most nitrogen-rich and widely available manure in South Africa, add it generously to your heap to accelerate decomposition.
- In the Highveld winter, composting slows in cold weather, insulate the heap with extra dry material or a covering of old carpet or hessian to maintain activity.
- Never apply fresh (unfinished) compost directly to crops, it can burn plants, tie up soil nitrogen, and introduce pathogens. Always allow compost to fully cure before use.
- Compost your kitchen waste and garden trimmings consistently, even a small household worm bin can produce enough worm castings to significantly benefit a 50 m² vegetable garden.
⚠️ Disclaimer
This guide is for general educational purposes. Compost quality and application rates vary depending on input materials, method, and soil conditions. Conduct a soil analysis before and after compost application for best results. Contact your nearest extension officer or ARC office for composting advice tailored to your province and farming system.